In transcribing images for BillionGraves as well as other genealogical records, I have been extremely frustrated in trying to decipher blurry, obscured, or faded records. I feel personally responsible when I can’t correctly transcribe an image because I know that means it won’t be accessible for anyone to search for later on. And that’s the whole goal of our project, right?
So I’ve compiled 7 ways you—as as a photographer of these valuable, fading records—can improve every image you take and therefore make both transcribers and genealogists love you forever (and I mean forever)!
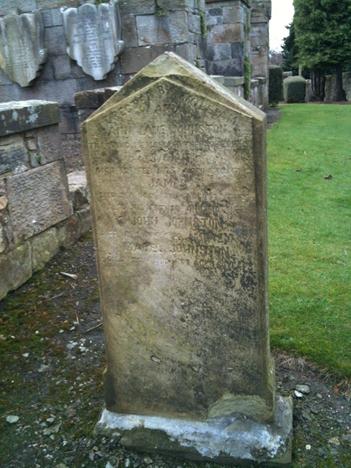
1. Frame your photo well.
The headstone you are photographing should fill up as much of the frame as possible without cutting off any of the headstone.
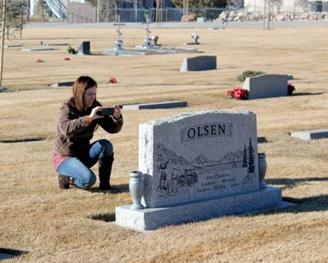
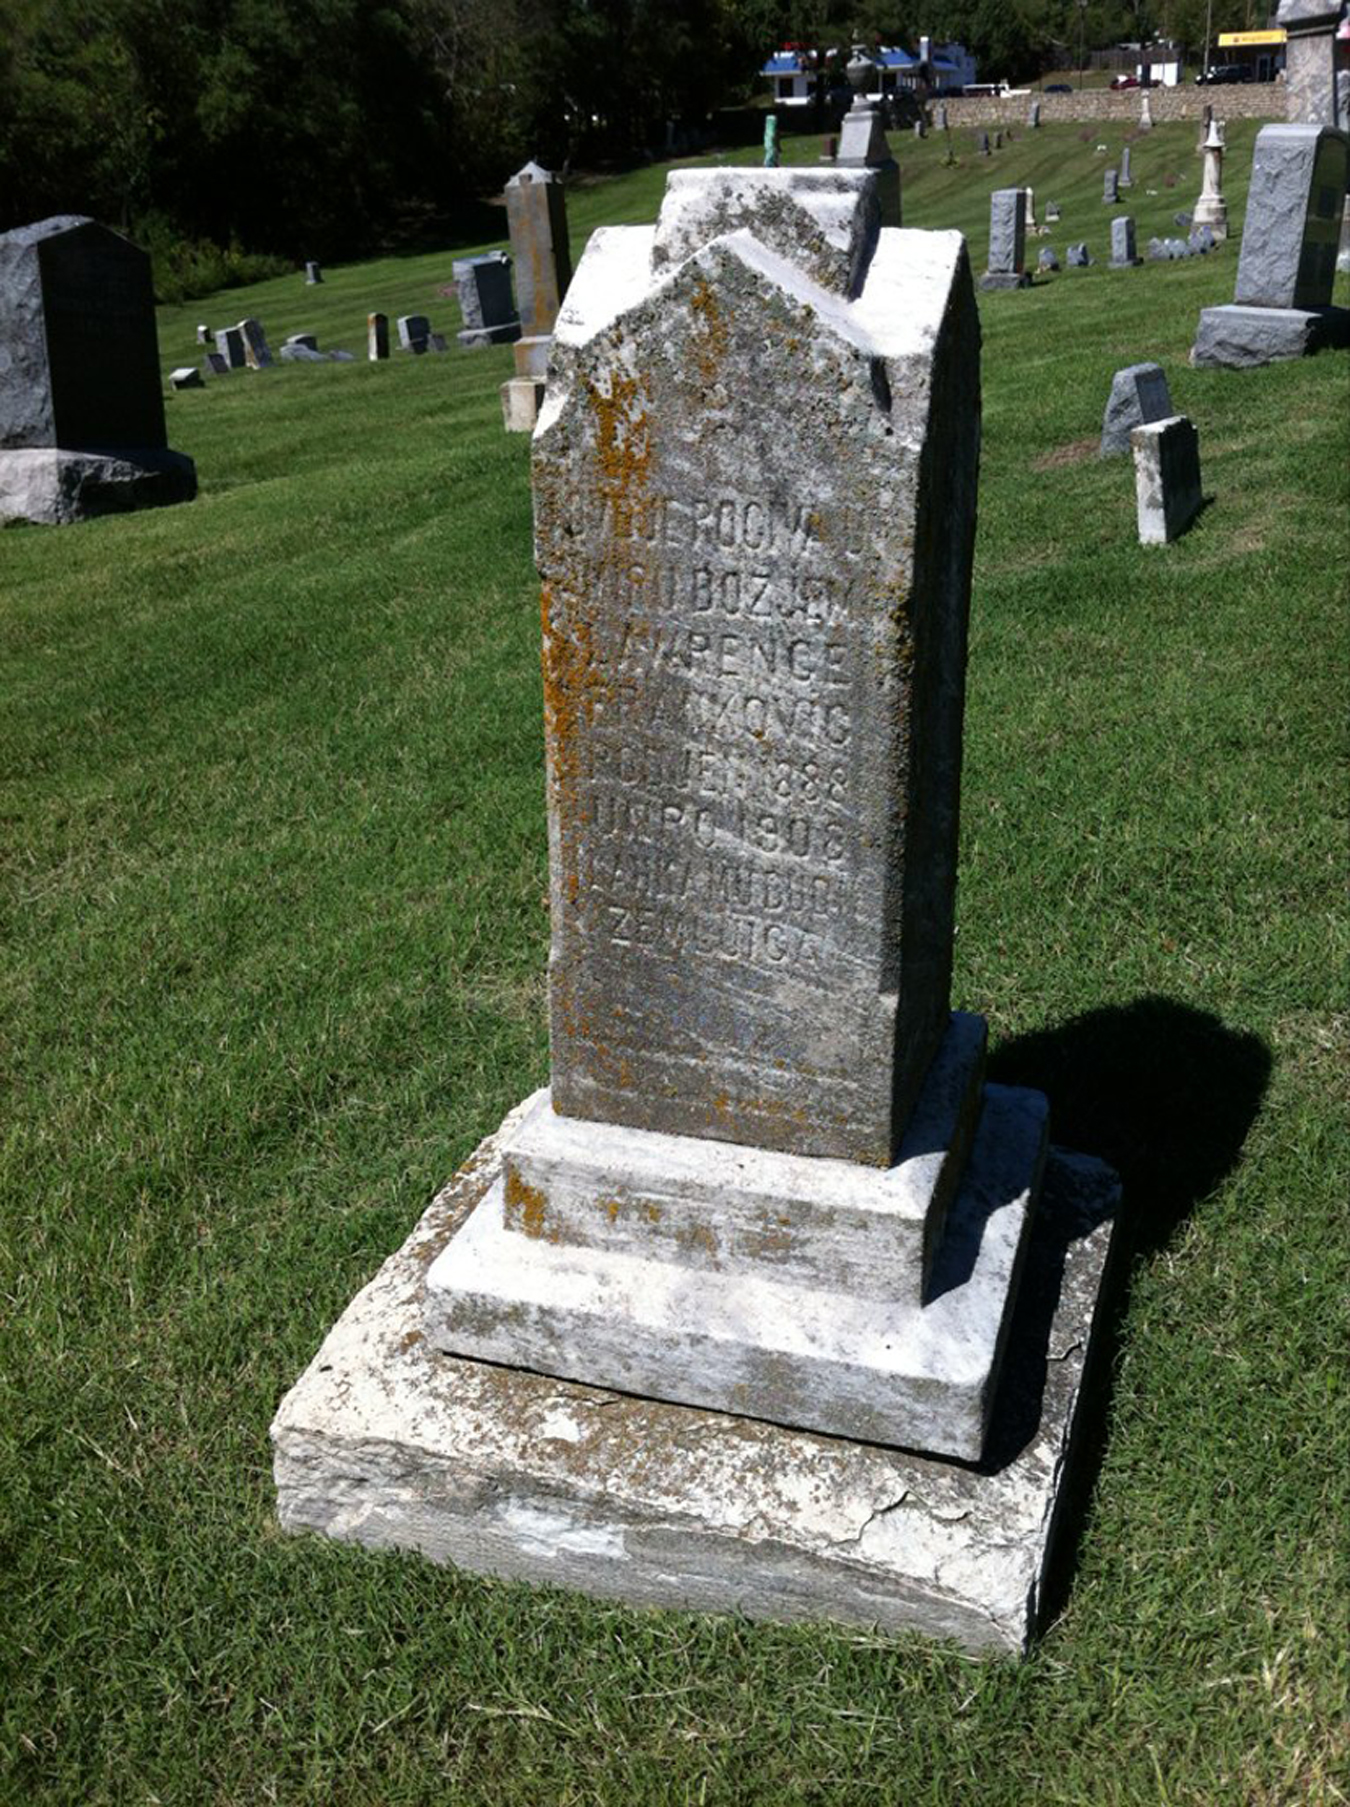
2. Take pictures at the right angle.
The more straight-on your picture is, the better. Taking pictures from any angle besides straight on can distort the words on the headstone and make it nearly impossible to transcribe. For upright monuments, bend down to get a better angle for the picture.
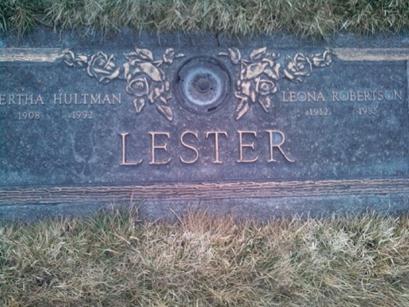
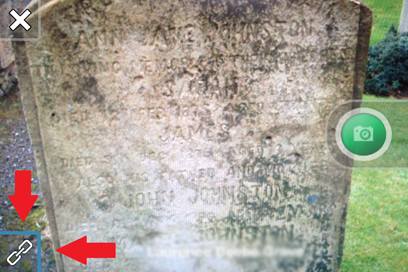
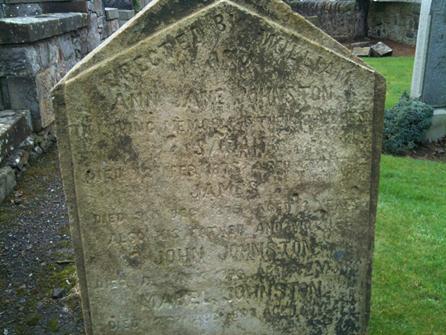
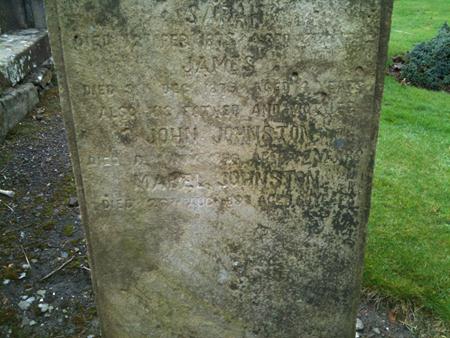
3. Link images correctly.
Some headstones are either too large or are actually made up of two connected headstones. If this is the case, take a picture of the WHOLE headstone first, then take close ups on the different sections of the stone.
MAKE SURE the little chain link in the bottom left corner of your screen is highlighted in blue before taking the close ups!
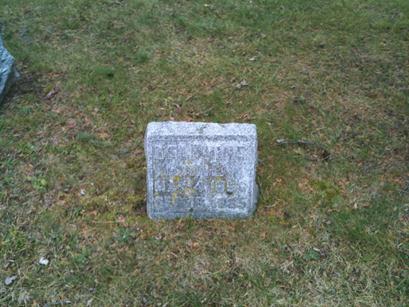
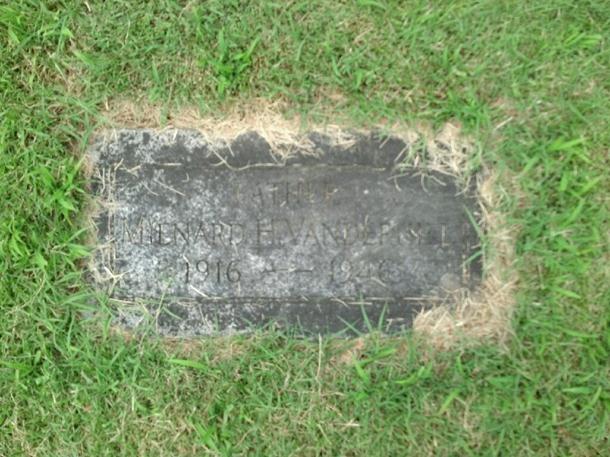
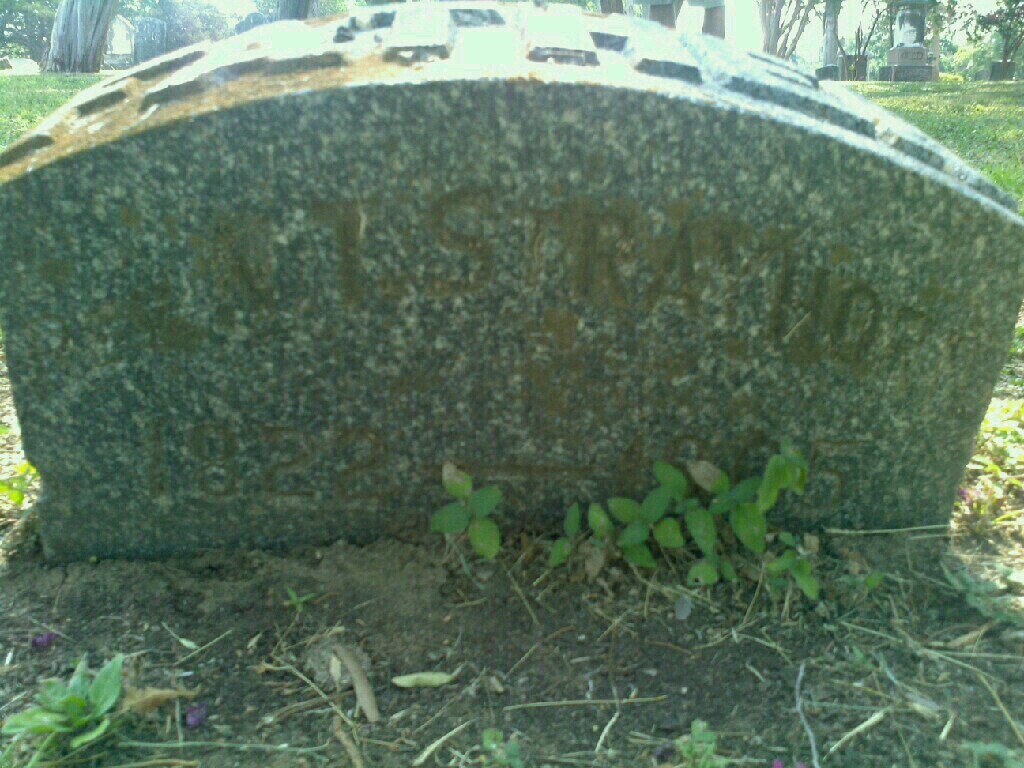
4. Avoid taking blurry images.
Allow your camera to focus before clicking the green picture button. It’s very tempting to rush through the picture taking process in order to capture more images, but make sure you’re not forfeiting your images because you’re going too fast.
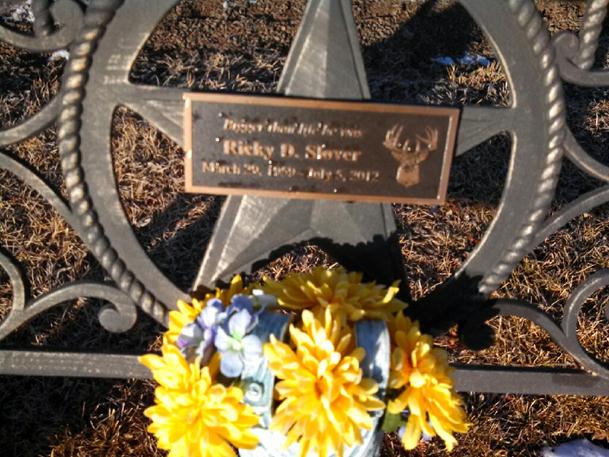
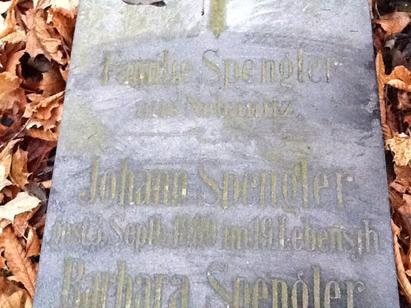
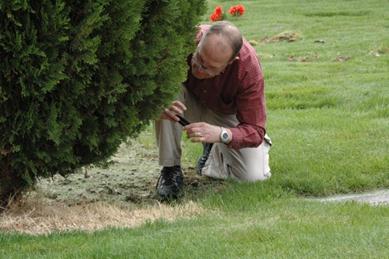
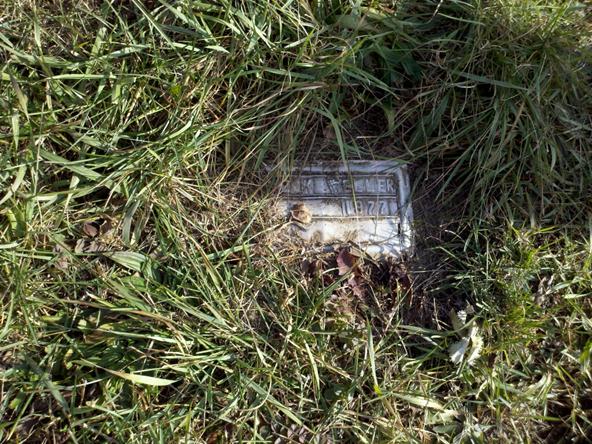
5. Clear off any debris before you take the picture.
Make sure you set aside any decorations and remove any of the debris/growth that is covering up any part of the headstone (you might want to take some grass clippers with you).
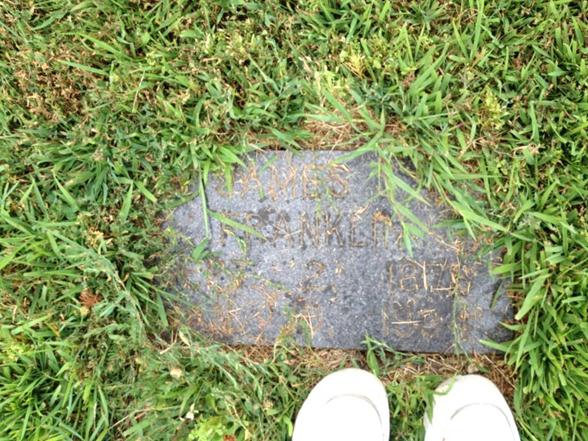
And don’t forget to move your feet out of the picture!
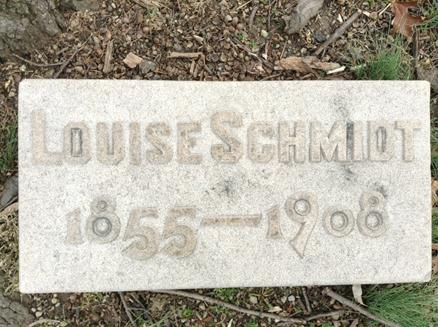
6. Make sure the lighting is right.
The best time to take pictures is when the sky is slightly overcast. Different times of the day are better for taking pictures of certain kinds of headstones. In any case, pay attention to how light or dark your picture is. Schedule your trips to the cemetery when the lighting is right and beware of shadows—including your own!
Helpful hint: Consider taking an umbrella, flashlight, mirror, or grab the sunshade from your car to either block out the harsh sunlight or to reflect some light on the back side of headstones that are in the shadows.

7. View your images before you leave the cemetery.
Don’t forget to make sure they turned out okay! This is the equivalent of checking your answers before you turn in your test: go back and review your photos so every record on BillionGraves will get an A for Accuracy!
What things have you found make the best pictures? Anything I missed? I’d love to hear from both photographers AND transcribers!